Wednesday, July 28, 2010

Mmmmm.... Pizza!!

So today at my nephew's request, we made homemade pizza. It was AWESOME!!! Everyone in the family loved it and it was fun to do... here is how it went down:

At the market (IGA here in Gibsons) we found a pizza pack of meats (pepperoni, ham and salami) that I cut up into smaller pieces. We also found some squeezable pizza sauce, foccacia dough, pineapple, olives, onions, fresh tomatoes, mushrooms and green peppers. I cut up everything and prepped it for people to select from. We also found pre-shredded pizza cheese (provolone, mozzarella, cheddar) to use, which is available in all stores, I am sure. Gotta love convenience!! And for those of you wanting to make more "adult" pizza, maybe get a vodka tomato sauce instead of pizza sauce or pesto is a great sauce too.... you can also use ricotta, swiss, or other fancier cheeses. Have fun with the ingredients is what I am trying to say!! ;)


The store here doesn't sell pizza dough, but the bakery suggested that we buy their frozen foccacia dough (which I did). It stretches the same as pizza dough and cooks just about the same. The added bonus is you get all the lovely herbs in it... VERY tasty. And they also gave it to me for a 10% discount... very nice for the budget. Two loaves of foccacia dough made 8 larger sized single serving pizzas... but if you were doing it with kids you could easily get double that! You will need lots of flour though because the foccacia is pretty sticky.


Each person loaded the pizza the way they wanted and then I stuck them in the oven (ours is convection so it cooks pretty quickly - OH!! I also lightly oiled the cookie sheet with olive oil to keep the dough from sticking... it wasn't greasy at all) at 425 degrees...


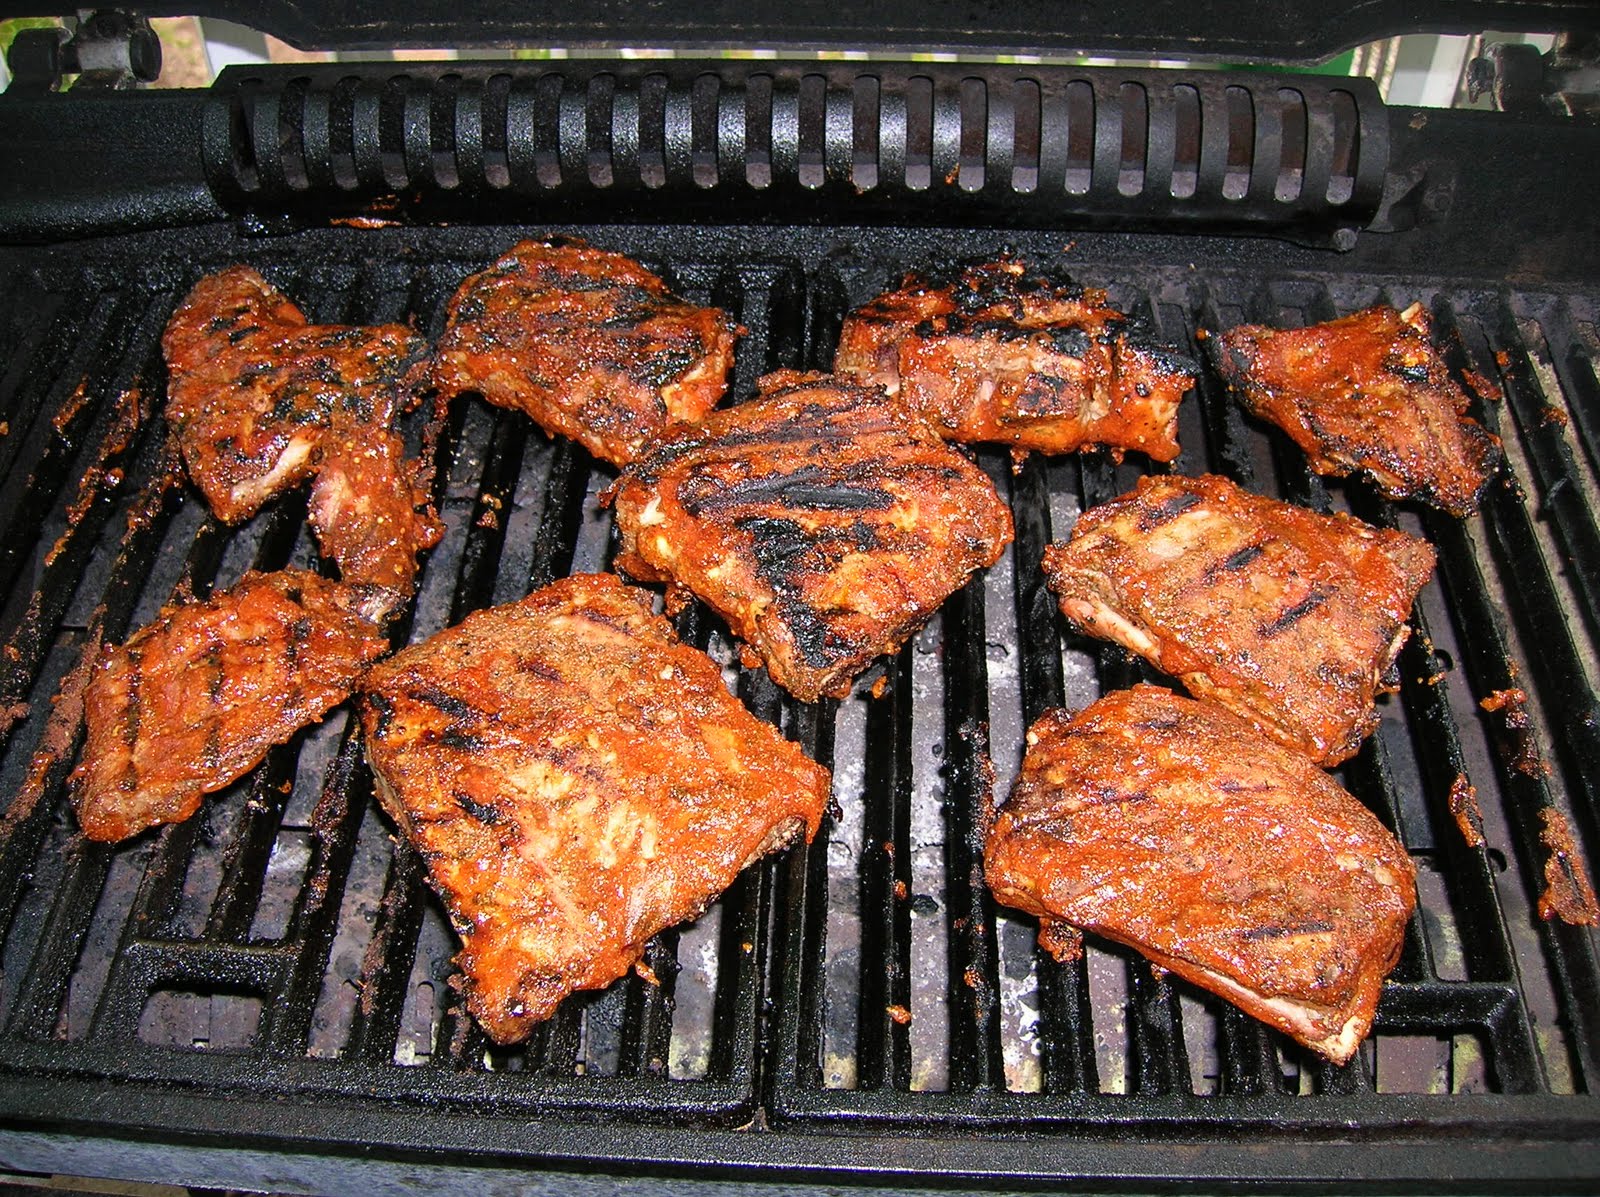
Don't they look good?!?!

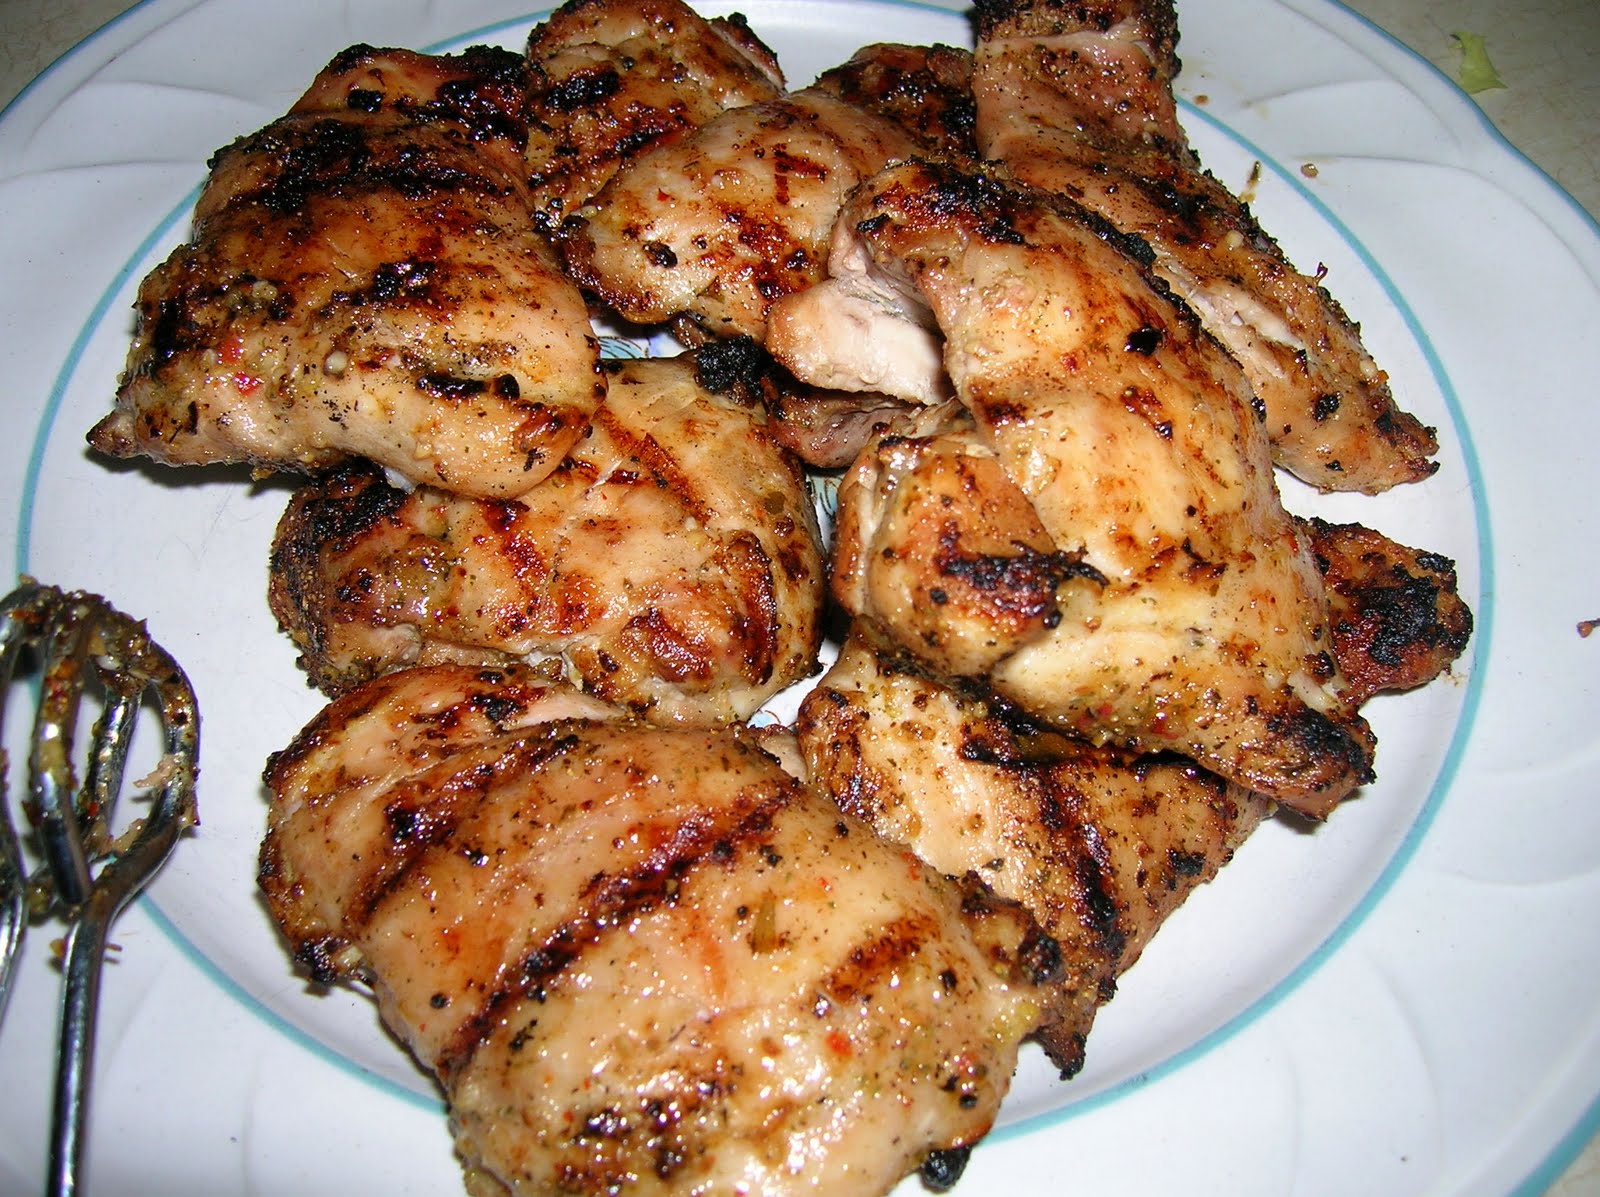
And there is the finished product: SO YUMMY!!!


Happy Eating!!!

Tuesday, July 27, 2010

BBQ Salmon

First let me start by saying that here on the west coast of Canada the term BBQ doesn't mean slow smoking and covering in sauce like it does in the south east of the USA. Here BBQ means using your grill to cook your food out of doors. So for my American friends and readers you can think of the title as Grilled Salmon! ;)

Here is how it went down:

At the grocery I bought 1 half of a wild caught salmon. It had been filleted for me but there were some bones still in it, so be careful of that. I also bought 2 lemons, 1 bunch of fresh dill, fresh garlic and 1 onion. I used a yellow onion but I think a purple onion would look lovely and taste great.

I made a foil bed for my salmon to sit on. I lightly oiled the foil before laying my salmon on it skin side down. Then I squeezed 1/2 of a lemon over the fish and lightly seasoned it with salt and pepper. Then I sliced 1/2 the onion into rings, the other half of the lemon into slices and finely chopped one clove of garlic and 2 sprigs of dill. I put the garlic and dill on the salmon first and then layered the onions and lemon over the top.


After that was done, I closed up the foil over the top and put the little packet on a hot grill. Half of the grill was turned on quite high and the other half had no heat on and that is where I put the happy little salmon to cook. I closed the lid and left it alone for about 15 minutes. The grill was reading about 400 degrees for those of you wondering. After the 15 minutes I removed the fish packet from the grill and opened it, letting it cool for a few minutes before serving... The second lemon can be used to squeeze over the fish or to make cocktails with (your choice).


Wednesday, July 21, 2010

Eating west coast summer style

Since we live close to the water and we are in the southern part of Canada, we have some benefits. We can get the best produce, the best seafood and all of it fresh! Below is a typical west coast summer meal. I just wanted to share it with you.

This was the carnage of the meal... looks kinda nasty, but I can't begin to tell you how GOOD it was!!

This was just before we dug into it all... fresh sweet peaches and cream corn on the cob, fresh boiled crab (which I am told you boil in salted water until it foams and then it's ready... this was our first time cooking it) and roasted baby red potatoes with onions, garlic and carrots. I got the potatoes from a friend at the farmer's market... YUMMO!!

This was my dad cleaning the two crab we were going to eat the next day. They were caught right from the waters near our house, brought home, cleaned (the rule is: if it's brown, wash it down... if it's white, its just right) and then cooked the next day. The meat was snowy white and so sweet and tasty.

This is the corn and potatoes before I started cooking with them. Originally I wanted to grill the corn, but that didn't go down this time (don't worry... I'll be working on it). I did make the potatoes on the grill by chopping them up with a carrot and some onion and garlic, tossing them in olive oil, dill, salt and pepper and then putting them in a foil pouch and letting the heat from the BBQ do it's job... super yummy.

Happy Summer Eating!


Friday, July 16, 2010

My Mama's Spaghetti Sauce


My mom makes a mean spaghetti sauce and she always shares her recipes and skills with me. This sauce is so good it could be bottled and sold. We use mostly homemade products in our home and rarely employ the use of pre-made sauces etc. So here is how that sauce happened (my mom makes a vat of it, literally, so that she can freeze it and use it for weeks and weeks to come... it freezes and thaws really well).

You will need a GIANT pot for this and a HUGE pan... you can scale it down but I have no measurements for that... just for the jumbo size!! ;)

First, put some olive oil into the GIANT pot and then start the heat. Take 8 cloves of fresh garlic that is chopped up pretty fine (you can use a garlic press if you like but those things annoy me, so I go for the big knife!!). Let the garlic saute for a bit (not at a high heat) and add 1 1/2 chopped onions to the mix. Once they have gone translucent, add 3 or 4 cans of tomato paste (yup, we buy that stuff) and then add in 2 GIANT cans of diced tomatoes (my mom uses her homemade ones when she has them - yes, that's right... she cans her own when the energy and mood hits her). Then let the heat begin to rise and add 2 or 3 big cans of tomato sauce (we buy that too). The last things that you add are the mushrooms and the meat mixture (see below).

The meat mixture: Take your HUGE pan and put some olive oil into it and put it on a medium heat. Add 8 more finely chopped garlic cloves and 1 more chopped onion. You got it, saute it to translucence (I don't know if that's a word, but it is now!!! ;) ). Then add the hamburger meat (we use extra lean ground beef, but you can go with turkey, chicken, bison or even tofu if you like). Cook until browned. Do not add salt or any other spices to this at this point.

Once your meat is ready to add to your tomato sauce, add it in while stirring constantly. Then add several leaves of fresh basil, oregano and a bay leaf or two. Let the vat simmer for a couple of hours. Make sure to give it a stir once every 15 minutes or so to make sure nothing is burning to the bottom.

Now, my variation on this little gem is to put a cup or two of red wine into the meat mixture. This way the alcohol burns off and the flavour is SOOOoooooOOOoooo good!!

Happy Eating!!

Cookies and Nephews...

Since I am often not in the country for some of the most important events in someone's life (weddings, Christmas, birthdays, the birth of children and so on), I am trying to make the most of having my nephew with me here in Gibsons (see my teaching here there and everywhere blog to see a pic of the beautiful place I am from). And one of the ways I can do that is to cook and bake with my nephew. Today we decided that chocolate chip cookies would be a great treat for our movie night. I got the recipe from the old Five Roses Cookbook that was put out in Canada ages and ages ago. My parents have had it and used it so long that the cover is missing and the pages are starting to yellow. I wish Five Roses would do a reprint because it has some of the simplest, easiest, and BEST recipes EVER. This is the cookbook that gave me fond memories of baking and making pancakes (that was a daddy thing in my house)


Anyway, this post isn't about the recipe or how to make something... it's simply about how cooking can bring families together and be a great activity to share with those that you love. Today as my nephew (a 12 year-old boy, so you know it was messy, fun and silly) and I (someone who I am suspecting might have a tough of OCD hehehe) baked together, we built a memory and that's better than the best tasting cookie.

Happy sharing the love through cooking!!!

Wednesday, July 14, 2010

Baked Potato Corn Chowder

So my parents have a TON of baked potatoes left from an event that they did with their Lions Club on the weekend. I've been trying all week to find ways to use them. On Sunday, I made some of the yummiest hash browns EVER (saute onions and garlic in olive oil, add the potatoes and then use sea salt, pepper and basil to spice). On Monday, I made baked potato salad (chopped up the cold potatoes and dressed with chives, bacon bits, sour cream and mayo). On Tuesday, I made cheesy potatoes (slice the potatoes, place them on a cookie sheet and lightly brush with olive oil, salt and pepper and bake until lightly brown, then sprinkle cheese ALL OVER them and put them back into the oven on broil.... mmmm.... cheese!!). So as the days have gone by, we are getting potatoed out and are searching for new things to make that have potatoes in it. I've never done a potato chowder before and so that was today's experiment! Here is how it went down:

In a LARGE pot, put some olive oil to heat. Then finely chop 2 cloves of garlic and 1/2 of a yellow onion. Saute that in the oil until the onion is translucent. Then toss in 2 chopped up baked potatoes (leave the skins on) and let them saute for a bit, add in a pinch of black pepper and some sea salt. Let the potatoes soak up some of that garlicky oil before putting in two containers of chicken stock (veggie stock works as well). Take the remaining potatoes (I had 5 or 6 more) and scrape out the insides into a big bowl and mix it with about 1/2 a cup of sour cream and bacon bits(of course veggie alternatives would work well too). Once your soup is coming to a boil, put in the potato mixture. Then once it returns to a boil, toss in some corn (I used frozen corn). Then let it simmer until you are ready to eat. It was a super easy soup to make and it took about 1 hour total.

Sorry that there are no pictures, but I just haven't had time today (and soup never looks as good in a picture for some reason). Happy Eating.

Friday, July 9, 2010

Mmmm... RIBS!!!

Tonight I did a little chemistry in the kitchen and made my own dry rub and BBQ sauce for the ribs my mother trusted me to cook for my whole family. It was a little nerve wracking because I've never done a dry rub, a BBQ sauce or ribs on the BBQ before.

Okay... so here is how it went down:


First I made a dry rub with the following (Mary, I didn't use exact measurements but I will try my best to give approximations for you):

  • 1/4 cup granulated garlic
  • 1 tbsp black pepper
  • 1tsp Moroccan spice (or use cayenne, or skip it all together)
  • 1/3 cup brown sugar
  • 1/4 cup paprika
  • 2 tbsp sea salt
  • 2 tsp basil
After I combined these ingredients (taste as you go and adjust as you like) I rubbed it into the meat and let it sit in the fridge covered for 3 or 4 hours).


Then I put the rubs on the grill (set to low) and let them get heated up. Then I slipped inside and whipped up a BBQ sauce (again, all measurements are approximate and I encourage you to taste as you go along to make sure it is to your liking):

  • 2 cups ketchup
  • 1/3 cup brown or whole seed mustard
  • a couple drops of hotsauce/tabasco
  • 2 tbsp brown sugar
  • 1 tbsp Worcestershire sauce
The sauce is a little sweet, with a little heat. YUMMY! I basted the ribs, turned them, basted them and kept doing that until they were done. Took about 45-50 minutes on low on the grill, but they were tender as could be with a little caramelized, crispy edges.


I made Krispy Kale (see an earlier post) and some carrot/celery sticks to eat with it. It was DELISH!!
HAPPY EATING!!!


Thursday, July 8, 2010

Rice Salad and Teriyaki Chicken

YAH!! I am so thrilled with this recipe. I did a little experimenting, tasting and crossing of fingers and came out with an incredibly tasty meal. So here is the break down of what I did:

First I marinaded the chicken in a homemade teriyaki sauce. I've done this before and you can go back into the archives to see that or just do this:

2 parts soy sauce
1 part sesame oil (I stole that idea from a reader and YUMMY!!!)
garlic (to taste)
1 part sugar (my parents are diabetic so I used Splenda to make it more friendly for ALL our waistlines)
ginger (to taste - I used fresh ginger chopped super fine)

I let it marinade for a couple of hours before throwing in on the grill. I LOVE summer and using the BBQ grill as often as possible (this makes 3 nights in a row and ribs are on the menu for tomorrow).


Then to make the rice salad I used the following ingredients:

2 1/2 cups of cooked and cold basmati rice
1 fresh clove of garlic
1 small piece of fresh ginger
a small amount of cilantro (or skip it if you don't like it)
a dash of black pepper (fresh cracked is best)
1/4 cup of soy sauce
1 tbsp of vinegar (I'd recommend a wine vinegar or apple cider vinegar)
2 green onions
2 stalks of celery
2 carrots


The first thing I did was finely chop the garlic and ginger. I also chopped up the cilantro into this so that there was a combining of flavours. I put it all in a big bowl with the soy sauce and vinegar.


Then I chopped up the veggies. I had a little fun withe carrots. I think you need to have some fun with your food, can't always be serious! ;) I then tossed them all into the dressing and added the pepper. I made sure that all the veggies got tossed around in the sauce before adding in the rice and stirring well.


Mmmmm.... so good.


And there is the finished product!! Perfectly cooked chicken that was both savoury and sweet and then a salad that was a little sour and spicy because of the fresh ginger. And the best part was that the rice was cold... such a nice treat on a hot day!

Happy eating!!


Tuesday, July 6, 2010

BBQ Chicken and Salad

So my last post had a chilly weather meal, but this one has a typical summer menu around our house. It's nothing fancy either, but I was very proud to have grilled the meat myself for the first time!! I lightly seasoned the meat with a garlic spice mixture and let it rest for a bit before putting it on the grill. After cooking it almost all the way through, I basted it with some italian dressing. Once it was nicely grilled (if you look closely you can see some lovely grill marks... I tried hard) I paired it with a lovely garden salad I made a little earlier. YUMMY!! Happy eating.


Family Favourite Casserole

When I was a kid and the days were cold and gloomy my mom would make one of the simplest, tastiest, heartiest casseroles. The day after we got home from our long drive (see my other blog: http://angelamae-internationalteacher.blogspot.com/ )it was cloudy, chilly and just right to revisit the old favourite and now I want to share that with you.


These are the ingredients: dinner sausage, potatoes, frozen peas, an onion and mushroom soup.

You slice the potatoes and dice the onions (we tossed in some celery this time, but we don't usually do that). You mix up the soup with the required water. Once you have it all ready, you put all the sausages on the bottom of the dish (no need to grease or whatever) and then layer the vegetables on top. We did two layers of each one and then pour the soup mixture over the top, making sure that everything was covered.


We use a big corningware pot, but any casserole dish works well. Cover with either foil or a lid and put into your oven at 350 for as much time as it takes for your potatoes to be done (ours took 1 1/2 hours, but a flat pyrex might take as little as 45 minutes).


And that's how it looks at the end. It doesn't look fancy but the taste just makes you feel warm and cozy. Not a typical summer dish, but up here on the west coast when our northern rain forest can drop rain and chilly temperatures anytime of year, this is a good, quick warm up meal. And it's easy and great for families!!